Shower Caulk Turning Black? Here’s How to Remove Mold and Prevent It
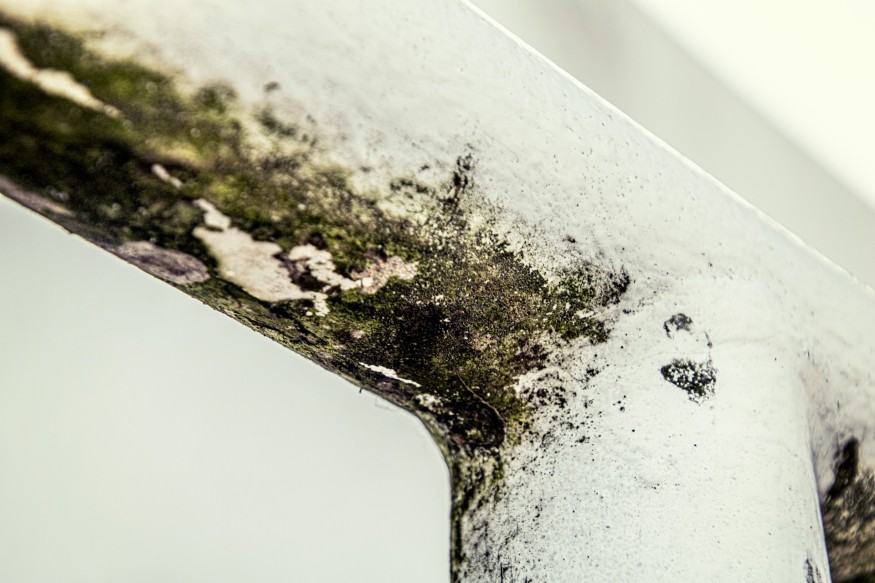
Mold and mildew on shower caulk can make an otherwise clean bathroom look neglected. Dark spots often develop along the edges of bathtubs, shower enclosures, and tiled walls, where moisture collects and ventilation may be limited. Although surface stains can sometimes be removed with household cleaning products, persistent discoloration may indicate that mold has penetrated the sealant or that moisture is trapped behind it.
Getting rid of mold on shower caulk requires identifying the extent of the growth, selecting an appropriate cleaning method, and addressing the conditions that allow it to return. Regular maintenance, adequate ventilation, and prompt repairs can help keep bathroom sealant in better condition.
Understanding the difference between removable surface growth and damaged caulk is particularly important. While cleaning can improve the appearance of intact sealant, heavily stained, deteriorating, or mold-infested caulk may need to be replaced.
Why Mold and Mildew Grow on Shower Caulk
Bathrooms provide several conditions that encourage mold growth, including humidity, warmth, and frequent exposure to water. Shower caulk is especially vulnerable because it sits along joints where water can collect, particularly around tubs, shower trays, corners, and fixtures.
Soap residue, body oils, and other organic materials can accumulate on these surfaces, providing additional material that supports microbial growth. Poor ventilation makes the problem worse by slowing evaporation and allowing humidity to remain elevated long after a shower.
The condition of the caulk also matters. Cracked, peeling, or separated sealant can allow water to seep behind the joint. Once moisture becomes trapped beneath the surface, cleaning the visible portion may not resolve the underlying problem.
How to Remove Mold and Mildew From Shower Caulk
The best cleaning method depends on whether the growth is superficial and whether the sealant remains intact. Before starting, inspect the affected area for cracks, gaps, peeling edges, or signs that water may be entering the wall or surrounding structure.
1. Prepare the Bathroom and Cleaning Supplies
Gather an appropriate bathroom cleaner, a soft-bristled brush, microfiber cloths, disposable gloves, and eye protection if the product label recommends it. Open a window or operate the bathroom exhaust fan to improve ventilation.
Follow the manufacturer's instructions for the selected cleaner, including any recommended contact time and rinsing procedure. Avoid combining cleaning products, particularly bleach with ammonia, acids, vinegar, or other cleaners, because dangerous gases or reactions can result.
If the mold covers a large area, keeps returning despite cleaning, or appears alongside water damage, consider consulting a qualified remediation professional or building specialist before proceeding.
2. Clean the Surface Before Treating Stains
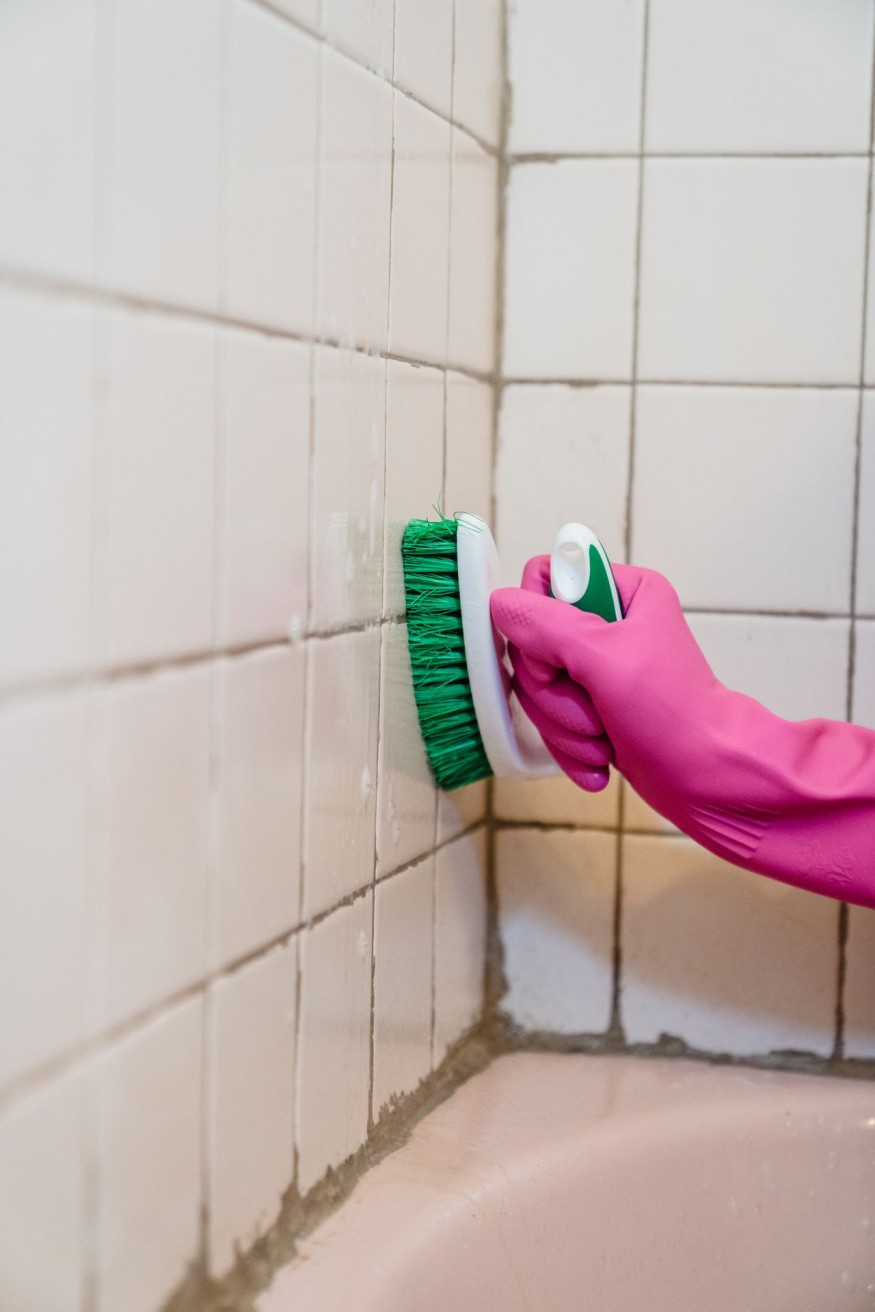
Remove loose soap residue and everyday grime with a bathroom cleaner suitable for the caulk material. Apply the product as directed, gently scrub with a soft brush, and rinse if required.
Cleaning away surface buildup helps expose the affected sealant and makes it easier to assess whether the dark discoloration is removable.
Avoid abrasive scouring pads, metal brushes, or aggressive scraping tools that could damage the caulk. Damaged sealant may allow water to penetrate the joint, making the original problem more difficult to resolve.
3. Apply a Suitable Mold Cleaner
For intact caulk with superficial growth, use a bathroom product specifically labeled for mold and mildew removal and compatible with the sealant and surrounding surfaces.
Apply it according to the label, allowing the recommended contact time. Some products may require rinsing, while others have different application instructions. Do not leave a cleaner on the surface longer than directed in an attempt to remove stubborn stains.
Bleach-based products may lighten some surface discoloration, but they cannot reliably eliminate mold growing beneath compromised sealant. Bleach can also discolor certain materials or damage nearby finishes, so compatibility should always be checked.
Household vinegar is sometimes suggested as an alternative cleaning option, but it should not be treated as a universal solution. Its effectiveness depends on the surface and the type and extent of growth. Never mix vinegar with bleach or apply multiple cleaners together.
4. Rinse and Dry the Area Thoroughly
After the cleaner has completed its recommended contact time, rinse the area as directed and remove excess water with a clean cloth.
Allow the caulk and surrounding surfaces to dry fully. If dark patches remain, inspect the sealant again rather than repeatedly applying stronger chemicals.
Persistent stains may indicate that the caulk has deteriorated or that growth extends beneath the surface. In these circumstances, replacing the affected sealant may be more effective than additional cleaning.
Five Ways to Keep Mold and Mildew From Coming Back
Preventing mold on shower caulk depends on reducing moisture and limiting the buildup of residue. These five maintenance habits can help keep bathroom joints cleaner.
- Run the exhaust fan: Operate the bathroom fan during showers and afterward, following its operating instructions. If the room has a window, opening it when conditions permit can also improve ventilation.
- Remove standing water: Use a squeegee or clean cloth to remove excess water from shower walls and nearby surfaces. Pay particular attention to corners and joints where water tends to linger.
- Clean the shower regularly: Use a compatible bathroom cleaner to remove soap scum and residue before it accumulates. Regular light cleaning is generally easier than treating extensive buildup.
- Inspect the sealant: Check the caulk periodically for cracks, gaps, peeling, or persistent discoloration. Repairing damaged joints promptly can help prevent water intrusion.
- Fix leaks and condensation: Repair leaking shower fittings and plumbing, and address recurring condensation or damp patches. Mold will continue to return if the underlying moisture source remains unresolved.
These habits work together. A mold-resistant caulk may help reduce growth on the sealant, but ventilation, routine cleaning, and prompt repairs remain essential.
A Cleaner Shower Starts With Moisture Control
Removing mold and mildew from shower caulk can improve a bathroom's appearance, but lasting results depend on more than cleaning the visible stains. Surface growth on intact sealant may respond to an appropriate bathroom cleaner, while persistent discoloration, cracked joints, and peeling caulk may require replacement.
The most effective long-term approach combines regular cleaning with better ventilation and careful moisture management. Drying shower surfaces after use, maintaining exhaust fans, and inspecting sealant for damage can reduce the conditions that allow mold to develop.
Homeowners should also investigate recurring growth rather than repeatedly treating the same spots. When moisture has entered the wall or surrounding structure, professional assessment may be necessary to identify and correct the source.
By keeping shower joints dry, maintaining intact sealant, and addressing leaks promptly, households can help preserve both the appearance and the water-resistant performance of bathroom caulk.
Frequently Asked Questions
1. Can mold on shower caulk be removed without replacing it?
Yes, if the mold is limited to the surface and the caulk remains intact. A compatible bathroom mold cleaner may remove superficial growth. If discoloration persists, the sealant is cracked, or water has penetrated behind it, replacement may be necessary.
2. Is bleach the best way to remove mold from shower caulk?
Not necessarily. A bathroom cleaner labeled for the affected material may be more appropriate. Bleach can lighten surface stains but may not reach growth beneath compromised sealant. Always follow product instructions, ventilate the area, and never mix bleach with other cleaners.
3. Why does mold keep returning to shower caulk?
Recurring mold usually indicates that moisture remains available for growth. Poor ventilation, standing water, soap residue, damaged sealant, and hidden leaks can all contribute. Cleaning the surface without correcting these conditions often leads to repeat growth.
4. Does mold-resistant caulk prevent mold permanently?
No. Mold-resistant caulk can help inhibit fungal growth on the sealant, but it does not make the surrounding bathroom mold-proof. Regular cleaning, effective ventilation, and prompt repairs are still necessary to control moisture and prevent recurring problems.


Halle Berry's Longtime Sunset Strip Home Hits the Market for Nearly $12 Million

Marilyn Monroe's Former Palm Springs Home Sells for $2.81 Million as New Owner Plans Restoration

Where to Buy a Christmas Tree in 2026, From Charlie Brown Chic to Ralph Lauren Classics

Sad Beige Baby Trend: Why Neutral Nurseries Are Dividing Parents and Designers

Sherwin-Williams's 2027 Color Forecast Unveils 48 Rich Colors to Refresh Your Home in 2027


